Blog 0.9: AWS CloudFront, Deploying Static Content
AWS CloudFront Tutorial: Deploying Web Content from S3 Bucket
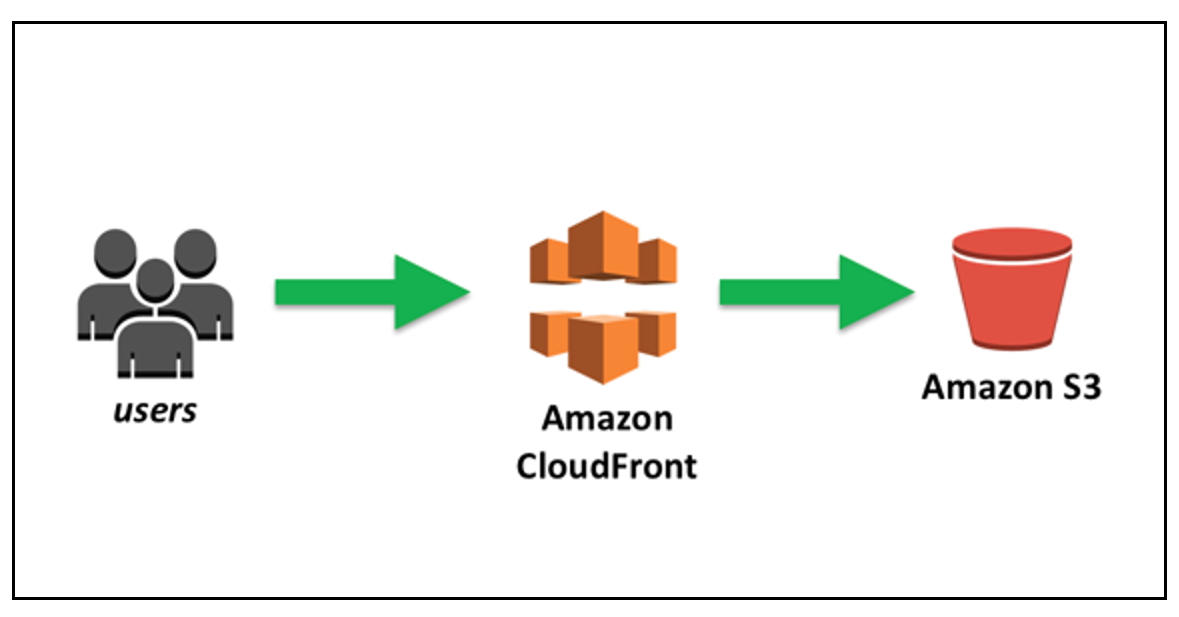
AWS CloudFront is a content delivery web service. It integrates with other Amazon Web Services products to give developers and businesses an easy way to distribute content to end users with low latency, high data transfer speeds, and no minimum usage commitments.
Benefits:
Content Delivery Network (CDN)
CloudFront is a Content Delivery Network (CDN) service that delivers static and dynamic web content, video streams, and APIs around the world, securely and at scale.
By design, delivering data out of CloudFront can be more cost effective than delivering it from S3 directly to your users.

In this blog, I will demonstrate steps to use CloudFormation to deploy static content. We can deploy website, application, or another web resource. Here, Static content includes files like images, videos, or music, or even scripts.
Upload File on S3 Bucket
The first step is to store your content in a secure and scalable way. A simple and flexible apporach for static content that you want to make available on the internet is to store it in an Amazon S3 Bucket.
- Create a S3 Bucket
- Upload an image file
- Public Block Setttings: Uncheck all the public block settings and save the new configurations
- Copy S3 object URL and paste on new browser to test if it displays the image
Create a AWS CloudFront Web Distribution
- Create AWS CloudFront web distribution that distributes the file stored in publicly accessible to Amazon S3 Bucket
- Create Distribution -> Get Started -> Configure
- In configuration, select Domain Name: Select S3 Bucket–> Create Distribution
Check Status:
We can create a link to your Amazon S3 bucket content with that domain name, and have Amazon CloudFront server it. In Status, it displays deployed, at this point, it will be ready to process requests.
This takes 15-20 mins to process. The domain name that Amazon CloudFront assigns to your distribution appears in the list of distributions.
Creating a LINK to your OBJECT (S3)
We can create an html file to test these steps. First, create a txt file with html extension. We can create a simple html file with following HTML contents that specifies PATH to Domain and OBJECT.
<html>
<head>Testing the CloudFront</head>
<body>
<p>My text content goes here.</p>
<p><img src="http://DOMAIN/OBJECT" alt="my test image" /></p>
</body>
</html>
In the above HTML format, we need to assign the Domain Name from the CloudFront service and replace OBJECT with the filename that was uploaded to S3.
output: Testing the HTML file should show the above contents with image that was previously uploaded into S3 Bucket. Open the html file in a web browser to ensure that you can see your content.
Release AWS Reources
Now, we can release the CloudFront and S3 Bucket by deleting. We should always make sure to delete and release AWS resources to prevent any incurring future charges.
AWS CloudFront should have the option to Disable first, then it allows to Delete. Similarly, for S3 Bucket, we need to delete the content first in order to delete the S3 Bucket.